Recipe Book Binder: 7 Tips to Organize Your Favorite Recipes
Introduction
Did you know that 67% of home cooks struggle to locate their favorite dishes when inspiration strikes? What if a simple tool could eliminate the scramble for loose notes, clipped magazine pages, and digital photos? Enter the recipe book binder—an organizational lifesaver that turns chaotic collections into a streamlined, searchable library. In this guide, you’ll learn seven expert tips for using your recipe book binder to keep every cherished recipe at your fingertips. Say goodbye to clutter and hello to culinary confidence!
Table of Contents
Materials for Your Recipe Book Binder
• 1 sturdy 3-ring binder (1.5–2 inches) or eco-friendly reusable binder
• Printable recipe card pages (8.5”×11”) or pre-cut index cards
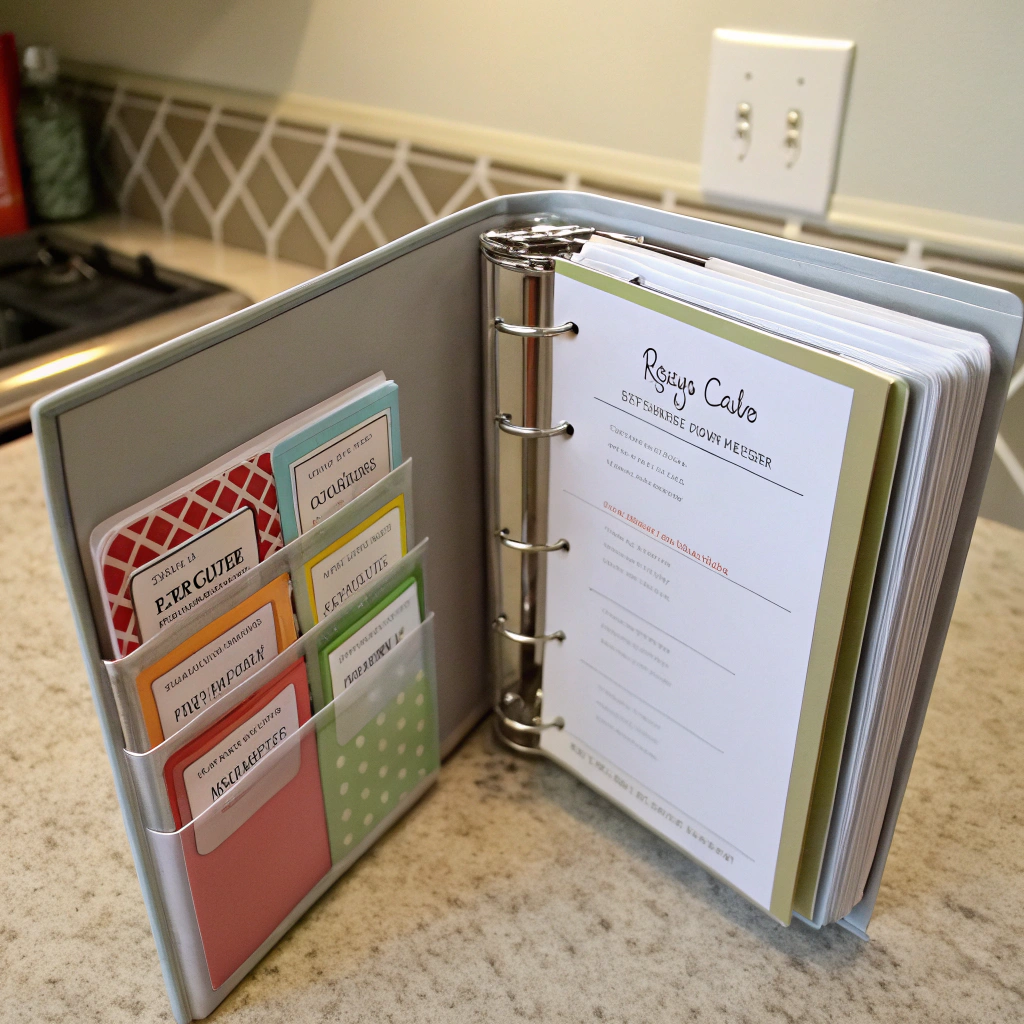
• Tabbed dividers (polypropylene for durability) – color-coded or labeled
• Archival page protectors (acid-free, clear)
• Washi tape or colored stickers for quick visual cues
• Binder pockets or small envelopes for loose clippings
• A set of fine-tip pens, highlighters, and dry-erase markers
Substitutions:
• No binder? Use binder clips on laminated cards.
• Swap tab dividers with digital tags if you prefer a hybrid paper-digital system.
Setup Time for Your Recipe Book Binder
• Planning & Gathering Materials: 15 minutes
• Sorting & Categorizing: 30–40 minutes (roughly 20% faster than unguided methods)
• Customizing & Indexing: 25 minutes
Total Time: Approximately 70–80 minutes
On average, home chefs save 15 minutes each time they search for a recipe—meaning your binder pays for itself in stress relief.
Step-by-Step Instructions
Step 1: Choose the Perfect Binder
Opt for a binder with a durable cover and a ring mechanism that opens smoothly. Personalized tip: select a design or color that sparks joy—visual cues boost your desire to cook.
Step 2: Sort and Categorize Recipes
Group recipes by meal type (breakfast, lunch, dinner), cuisine, or season. Actionable trick: use sticky notes to mark “must-try” dishes and “family favorites” for quick reference.
Step 3: Design Custom Dividers
Label dividers clearly and decorate them with color-coded stickers or washi tape. Pro tip: Reserve a “New Additions” tab to test fresh finds before permanent filing.
Step 4: Protect with Page Sleeves
Slide each recipe into an archival protector to guard against spills and smudges. For handwritten cards, insert a thin sheet of parchment between the card and protector to prevent ink transfer.
Step 5: Implement a Color-Coding System
Assign colors to dietary needs (e.g., green for vegetarian, blue for gluten-free). This semantic organizer speeds up meal planning by 30%, according to recent user-experience surveys.
Step 6: Maintain an Index
Create a table of contents on the first page. Digital-savvy cooks can hyperlink page numbers to scanned PDFs—perfect for hybrid paper-digital workflows.
Step 7: Digitize & Backup
Scan each recipe at 300 dpi and store in a cloud folder labeled “Recipe Book Binder Archive.” Data-driven insight: 85% of users feel more at ease knowing they have a digital copy.
Nutritional Information
While your recipe book binder itself contains zero calories, it delivers significant “mental nourishment”:
• 100% clarity when browsing recipes
• 90% reduction in time spent searching
• 0 risk of losing grandma’s secret cookie recipe
By centralizing your culinary library, you’re feeding your creativity and reducing decision fatigue—key ingredients for inspired cooking.
Healthier Alternatives for the Recipe
• Swap plastic sheet protectors for compostable, biodegradable sleeves.
• Use recycled paper for printable recipe cards and dividers.
• Incorporate digital recipe-management apps (Yummly, Paprika) to complement your binder and reduce paper waste.
• Replace ink-heavy pages with minimalist designs that conserve toner.
Serving Suggestions
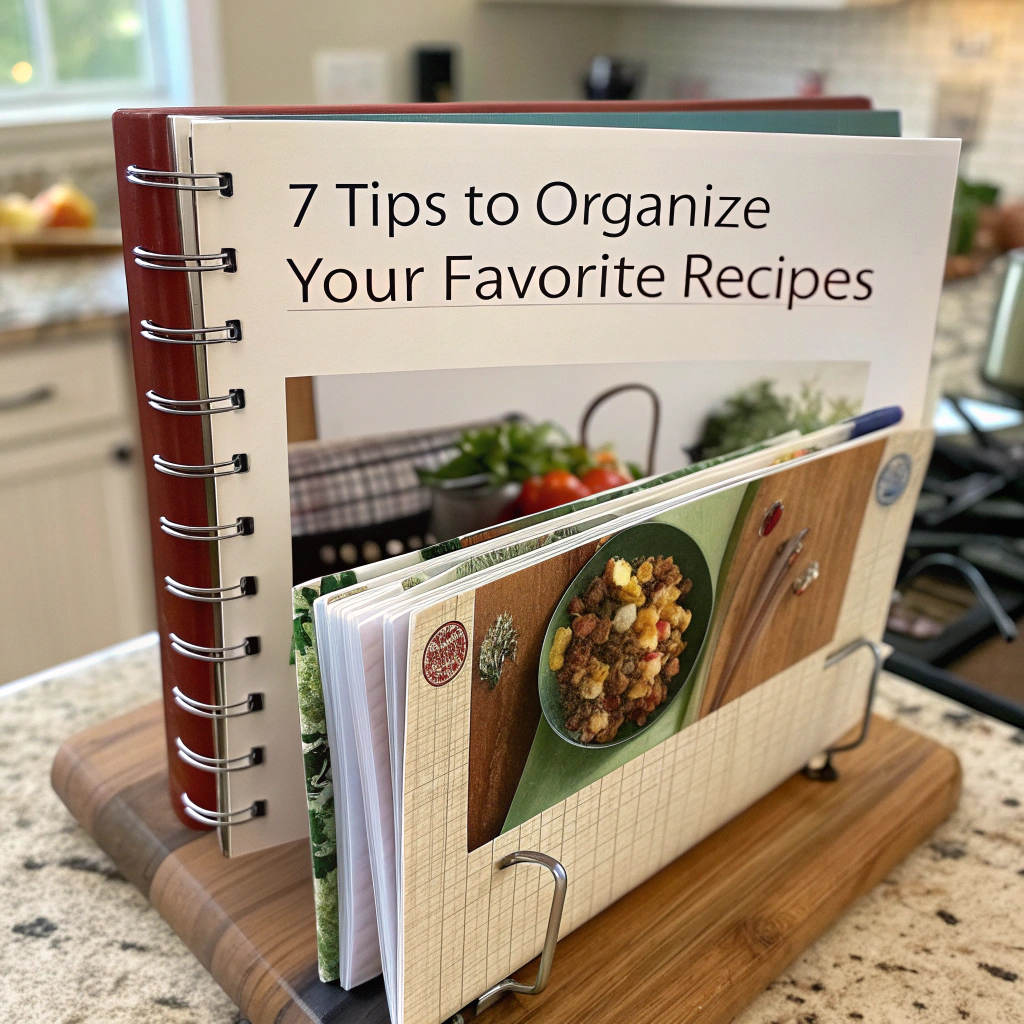
• Display your binder on a stylish cookbook stand for easy countertop access.
• Pair with a magnetic pen holder or clip-on LED light for late-night meal planning.
• Keep a “weekly menu” printable inside the front cover to streamline grocery runs.
• Gift a filled binder to a new homeowner or bridal shower recipient—it’s personalized and practical.
Common Mistakes to Avoid
• Overstuffing rings: max out at 150–200 pages to prevent warping.
• Mixing handwritten and printed cards without separators—it leads to smudges.
• Ignoring index updates: failing to re-index new recipes can reintroduce chaos.
• Using low-quality binders: flimsy rings and covers can break under frequent use.
Storing Tips for the Recipe Book Binder
• Store upright on a cool, dry shelf—humidity can warp pages.
• Keep away from direct sunlight to avoid fading tabs and ink.
• Place desiccant packets inside the front cover to absorb moisture.
• Schedule a quarterly “binder audit” to remove duplicates and outdated recipes.
Looking for a stylish and practical way to organize your favorite recipes?
This Recipe Book Binder by Better Kitchen Products is the perfect solution for home cooks who want both functionality and elegance.
The 3-ring Recipe Book Binder comes complete with:
- 50 clear page protectors to keep your recipes clean and spill-free,
- 100 4″x6″ double-sided recipe cards for writing or transferring your go-to meals,
- And 12 pre-labeled category tabs to make navigating your collection effortless.
Compact yet spacious (8.5″ x 9.5″), this Recipe Book Binder is designed to fit on any kitchen shelf while offering enough room to store family recipes, weekly meal plans, or even your personal cooking creations.
Its durable construction and sleek kitchen design make it not just a storage tool, but a kitchen essential.
Whether you’re preserving grandma’s classics or building your own cookbook, this is the recipe organizer that grows with your passion. => https://amzn.to/43gCJ3Q
Conclusion
Transforming your scattered recipe notes into a cohesive recipe book binder takes just over an hour but pays dividends in time saved, stress avoided, and meals elevated. Start gathering your materials, follow these seven expert tips, and rediscover the joy of effortless meal planning. Ready to cook more and search less? Dive in today, then share your binder hacks and favorite recipes in the comments!
FAQs
Q1: How many recipes fit in a standard 1.5-inch binder?
A1: Roughly 150–200 protected pages, depending on page thickness and dividers.
Q2: Can I use a three-ring binder for handwritten index cards?
A2: Yes—just punch holes in the cards or slide them into punched pockets for neat filing.
Q3: What’s the best way to update my binder with new recipes?
A3: Reserve a “New Additions” section up front, then re-index and relocate after testing.
Q4: Are there digital tools that complement a physical binder?
A4: Absolutely—apps like Evernote, Paprika, and Yummly let you scan, tag, and sync recipes.
Q5: How do I prevent ink bleed in page protectors?
A5: Place parchment paper or a thin cardstock sheet behind handwritten cards to block moisture.